
This post is also available in:
![]() Deutsch
Deutsch
If you're looking for a protein-packed, low carb yet absolutely delicious recipe to satisfy those mid-afternoon cravings, you've come to the right place!
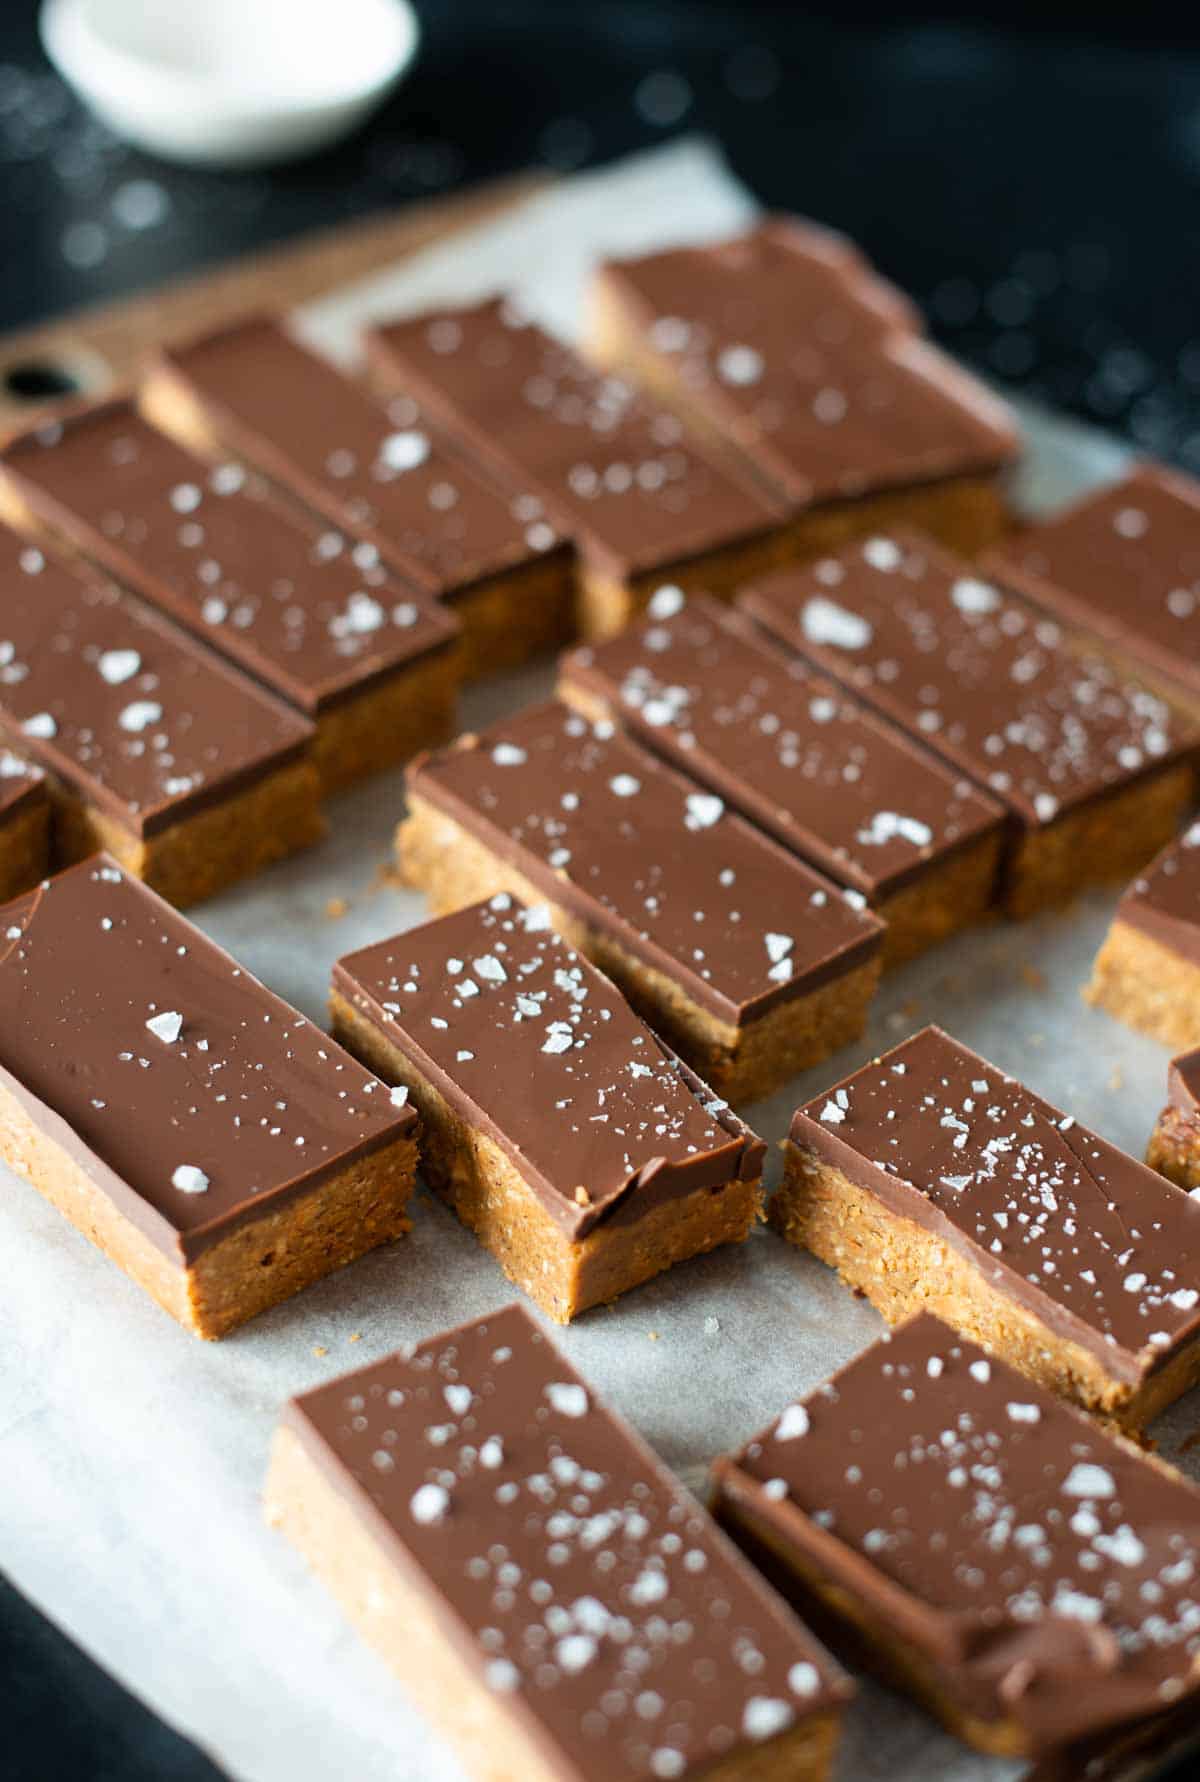
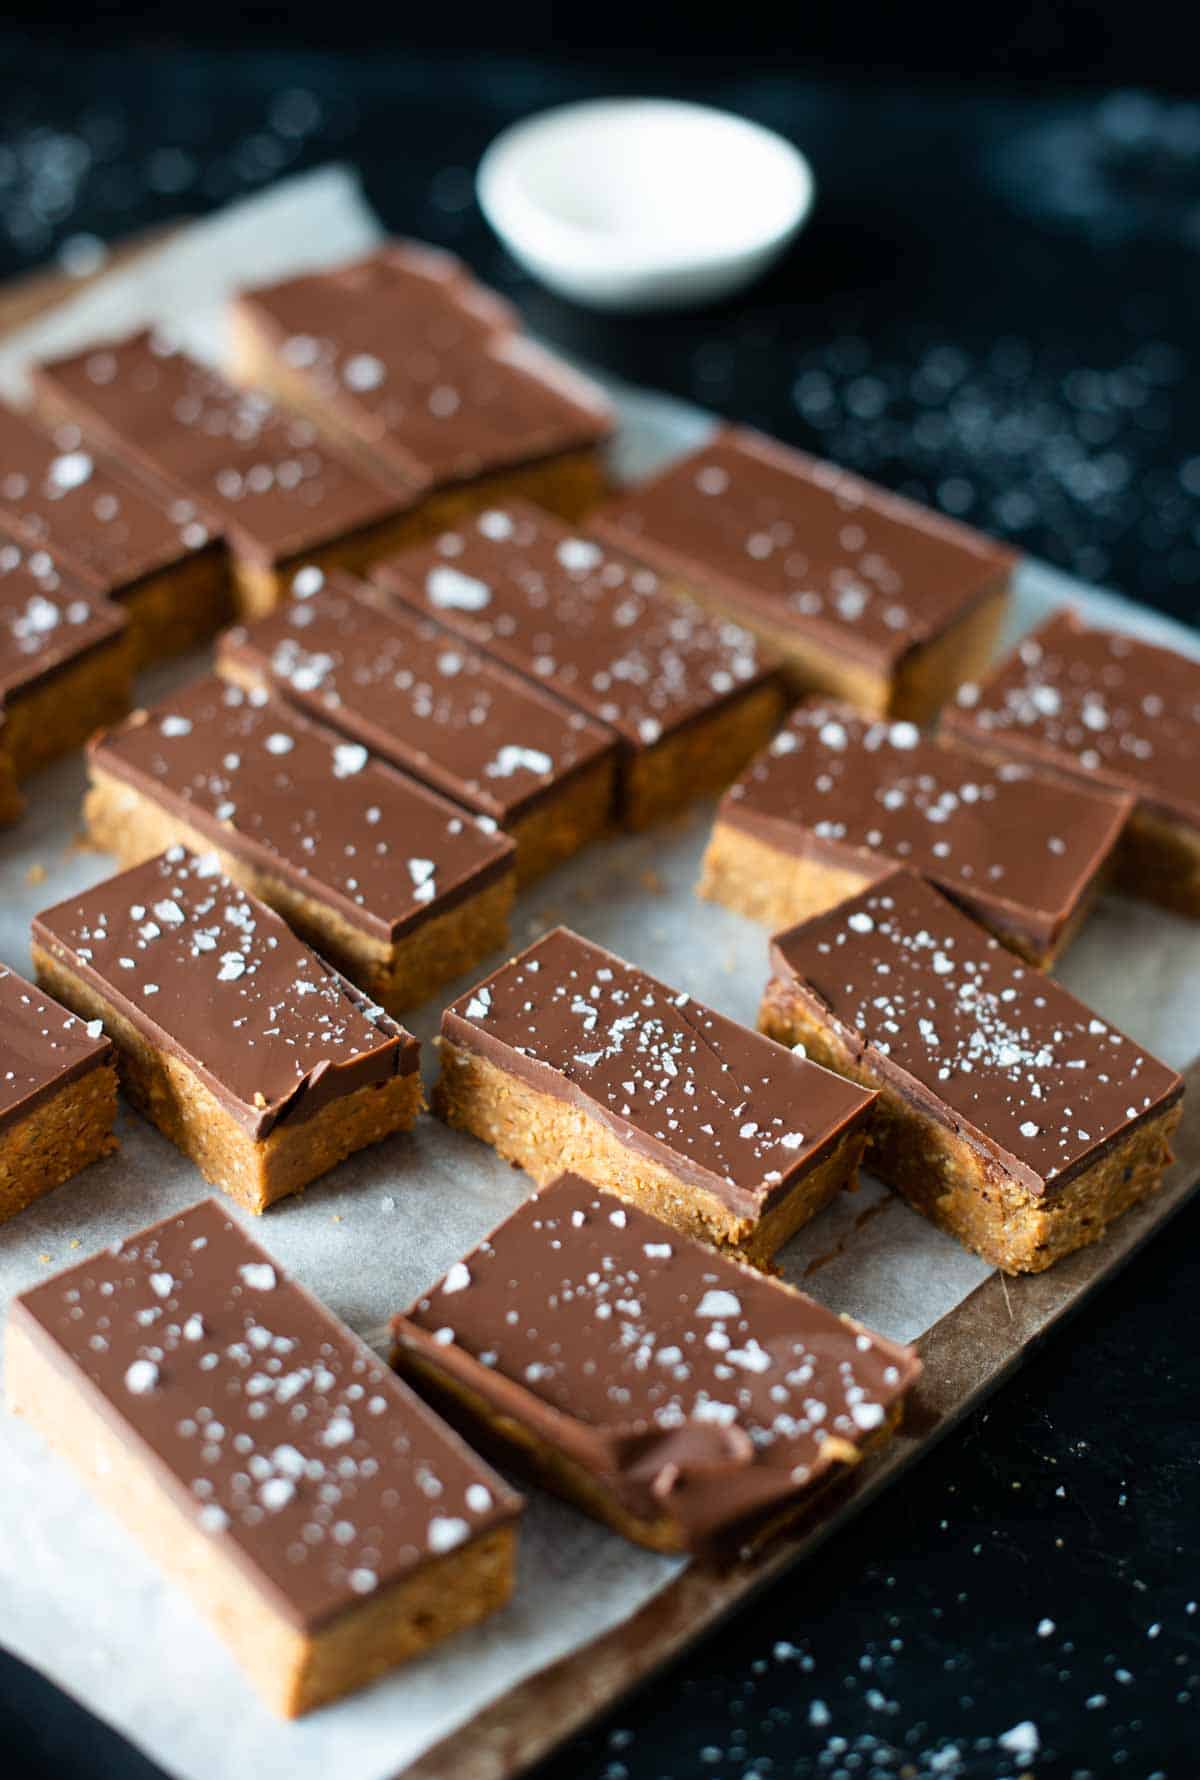
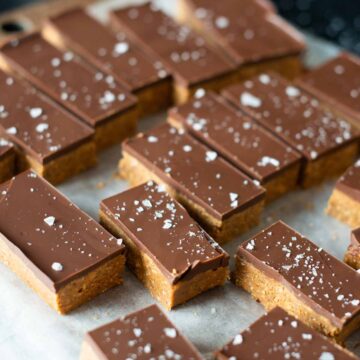
These vegan peanut butter bars with chocolate and salt flakes are high protein, low carb, and best of all, they're ready to serve in 35 minutes!
Before you jump into the kitchen, I recommend you read this blog post carefully. The recipe is very simple, but there are a few things you should pay attention to.
Jump to:
- Ingredients
- Peanut butter
- Chocolate
- Coconut oil
- Hazelnuts
- Step 1: Making the peanut butter mixture
- Step 2: Shaping the bar mixture
- Step 3: Making the chocolate topping
- Step 4: Cutting the bars
- How to store peanut butter bars
- more delicious desserts you may like
- have you tried this recipe?
- 📖 Recipe
- 💬 Reviews
Ingredients
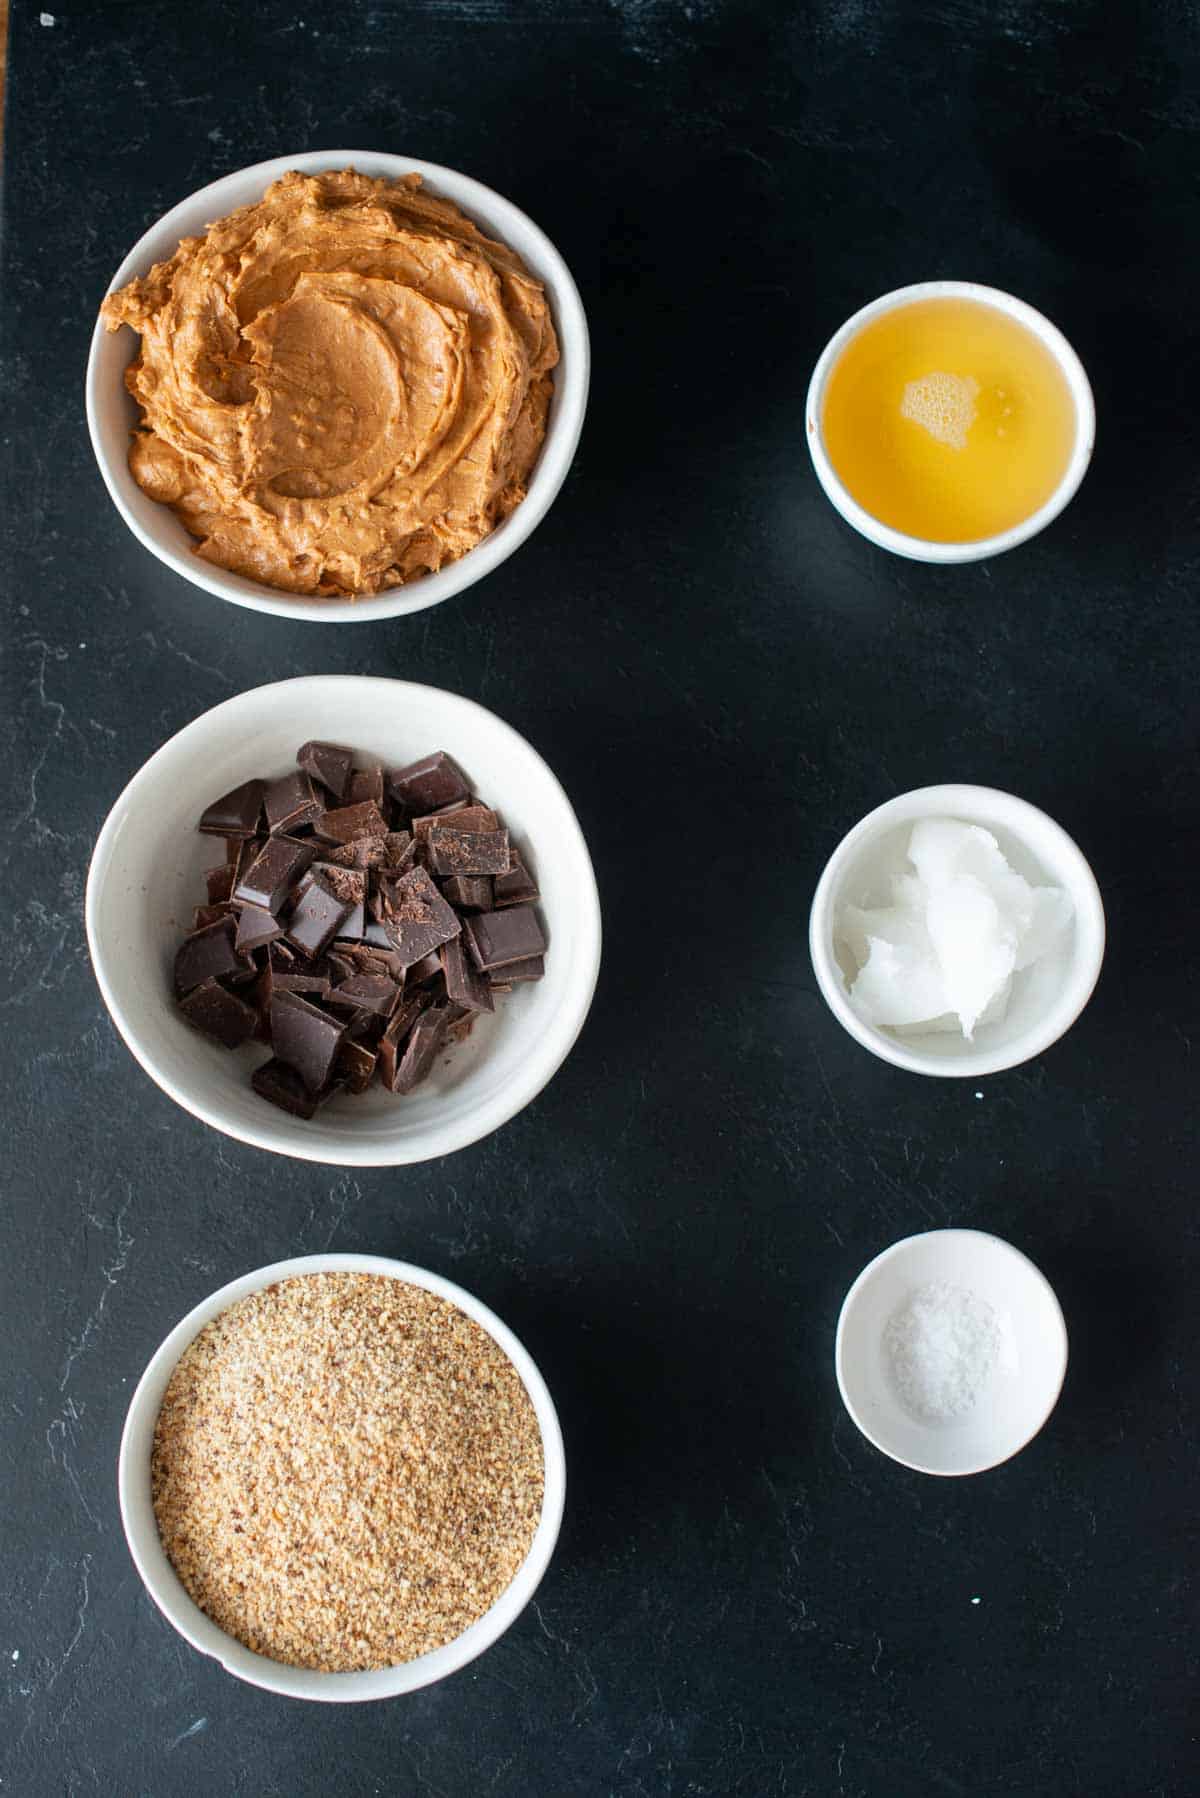
Let's start with the ingredients you need to make these vegan peanut butter bars. For this recipe you only need the following 6 ingredients (because the ingredients are few I recommend you to use high quality ones):
- Peanut butter
- agave or maple syrup
- dark chocolate (I used this one from Munz)
- coconut oil (refined or virgin)
- ground hazelnuts (or almonds, pecans, walnuts)
- salt flakes
Peanut butter
The peanut oil we use for this recipe must be able to stabilize. For this reason, I used a peanut oil that contains 6% palm oil (from organic, sustainable farming).
If you are using a homemade peanut butter or one without added oil, I recommend adding 6 grams of coconut oil per 100 grams of peanut butter. This way, your peanut butter can easily stabilize once it's cold.
If you want, you can use other types of nut butters like hazelnut butter, walnut butter, pacan butter, etc. The most important thing is that they must harden when you put them in the refrigerator. If that is the case then you can use them for this recipe. If not, add some coconut oil (as I explained above).
Chocolate
For this recipe we use dark chocolate with at least 70% cocoa percentage. Almost all dark chocolates are vegan, but it is always best to read the labels carefully to be on the safe side.
Coconut oil
We use coconut oil to stabilize the chocolate faster and give it a creamier texture. If you don't like the taste of coconut, use refined oil, otherwise I recommend using virgin coconut oil.
The use of coconut oil is optional, it can be omitted.
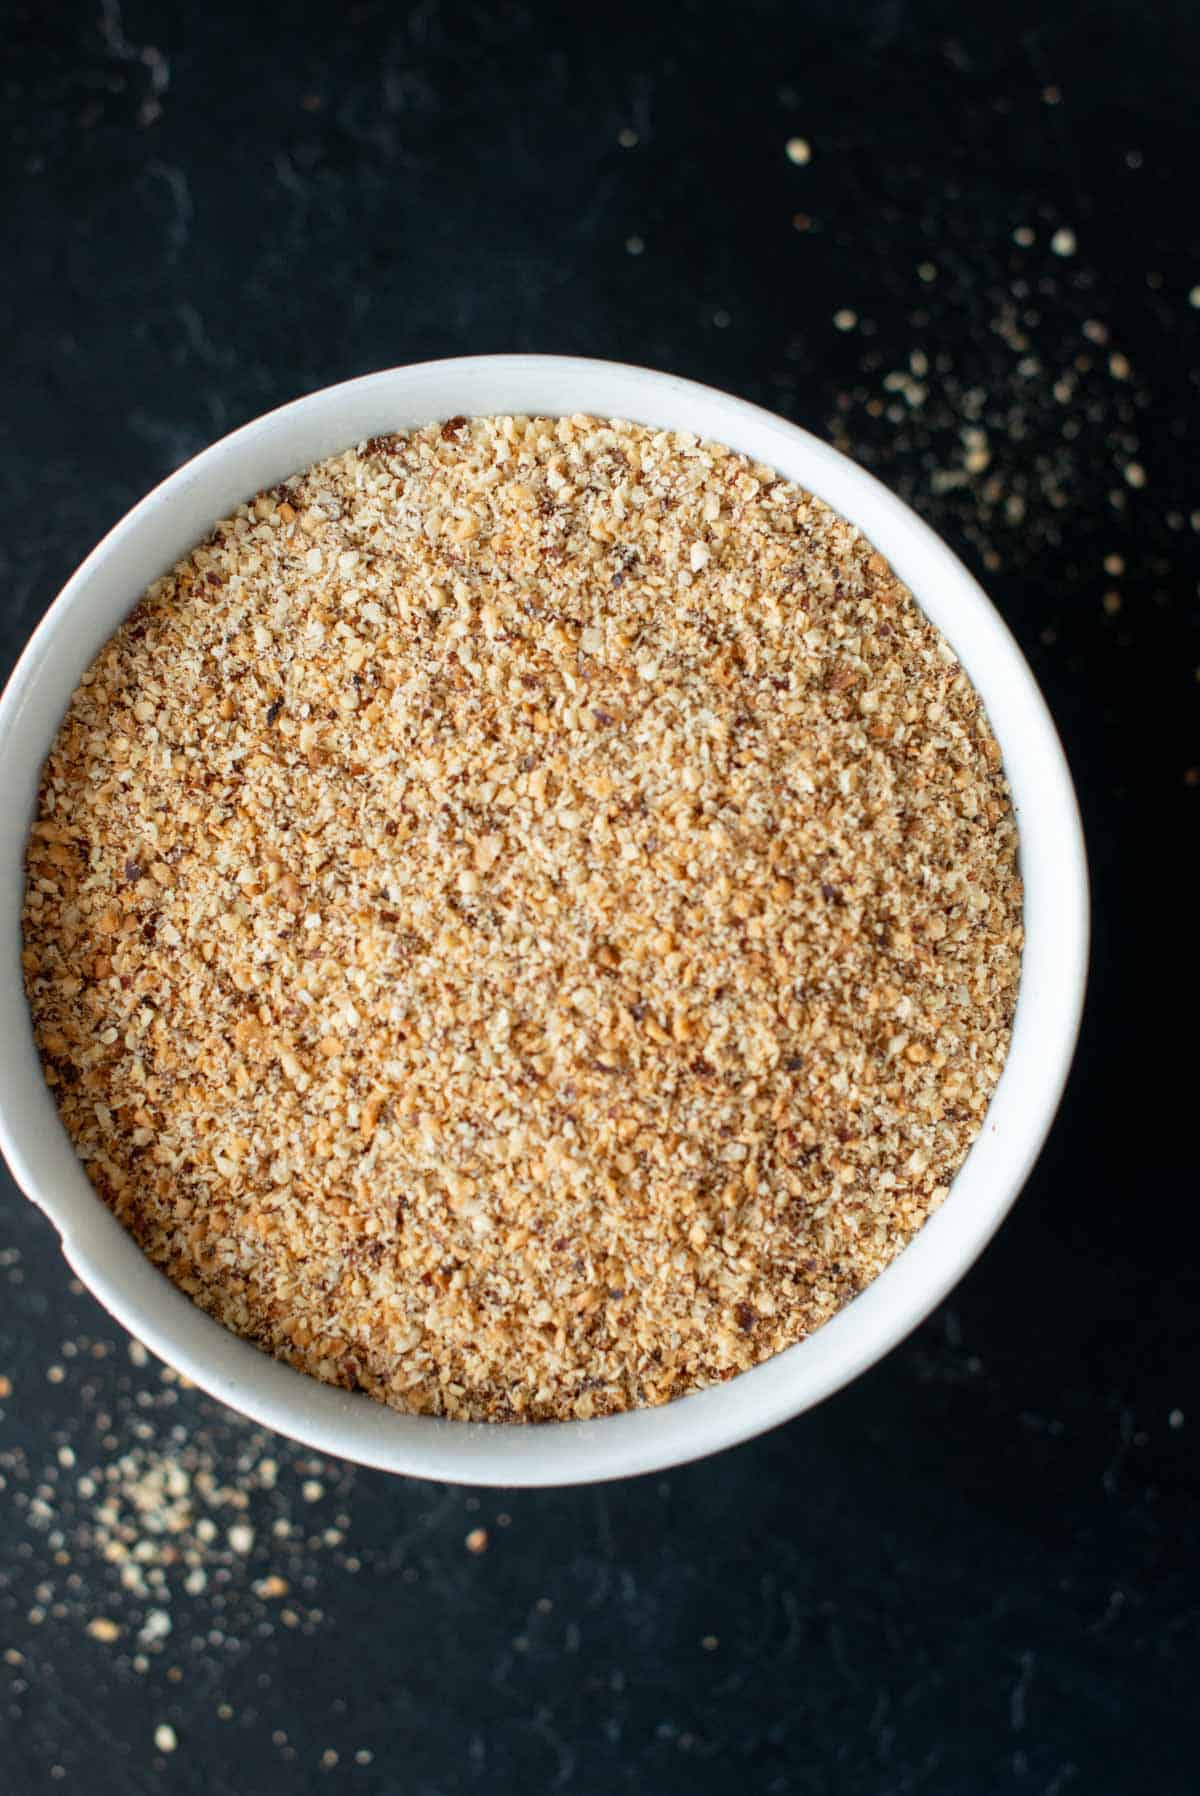
Hazelnuts
To give our bars a touch of flavor, we add ground hazelnuts that we have roasted in the oven at 160 °C for 10 minutes. In this way, the nuts become more flavorful and give the bars a slightly caramelized taste.
Again, you can replace the hazelnuts with other types of nuts such as almonds, pecans, walnuts or even cashews.
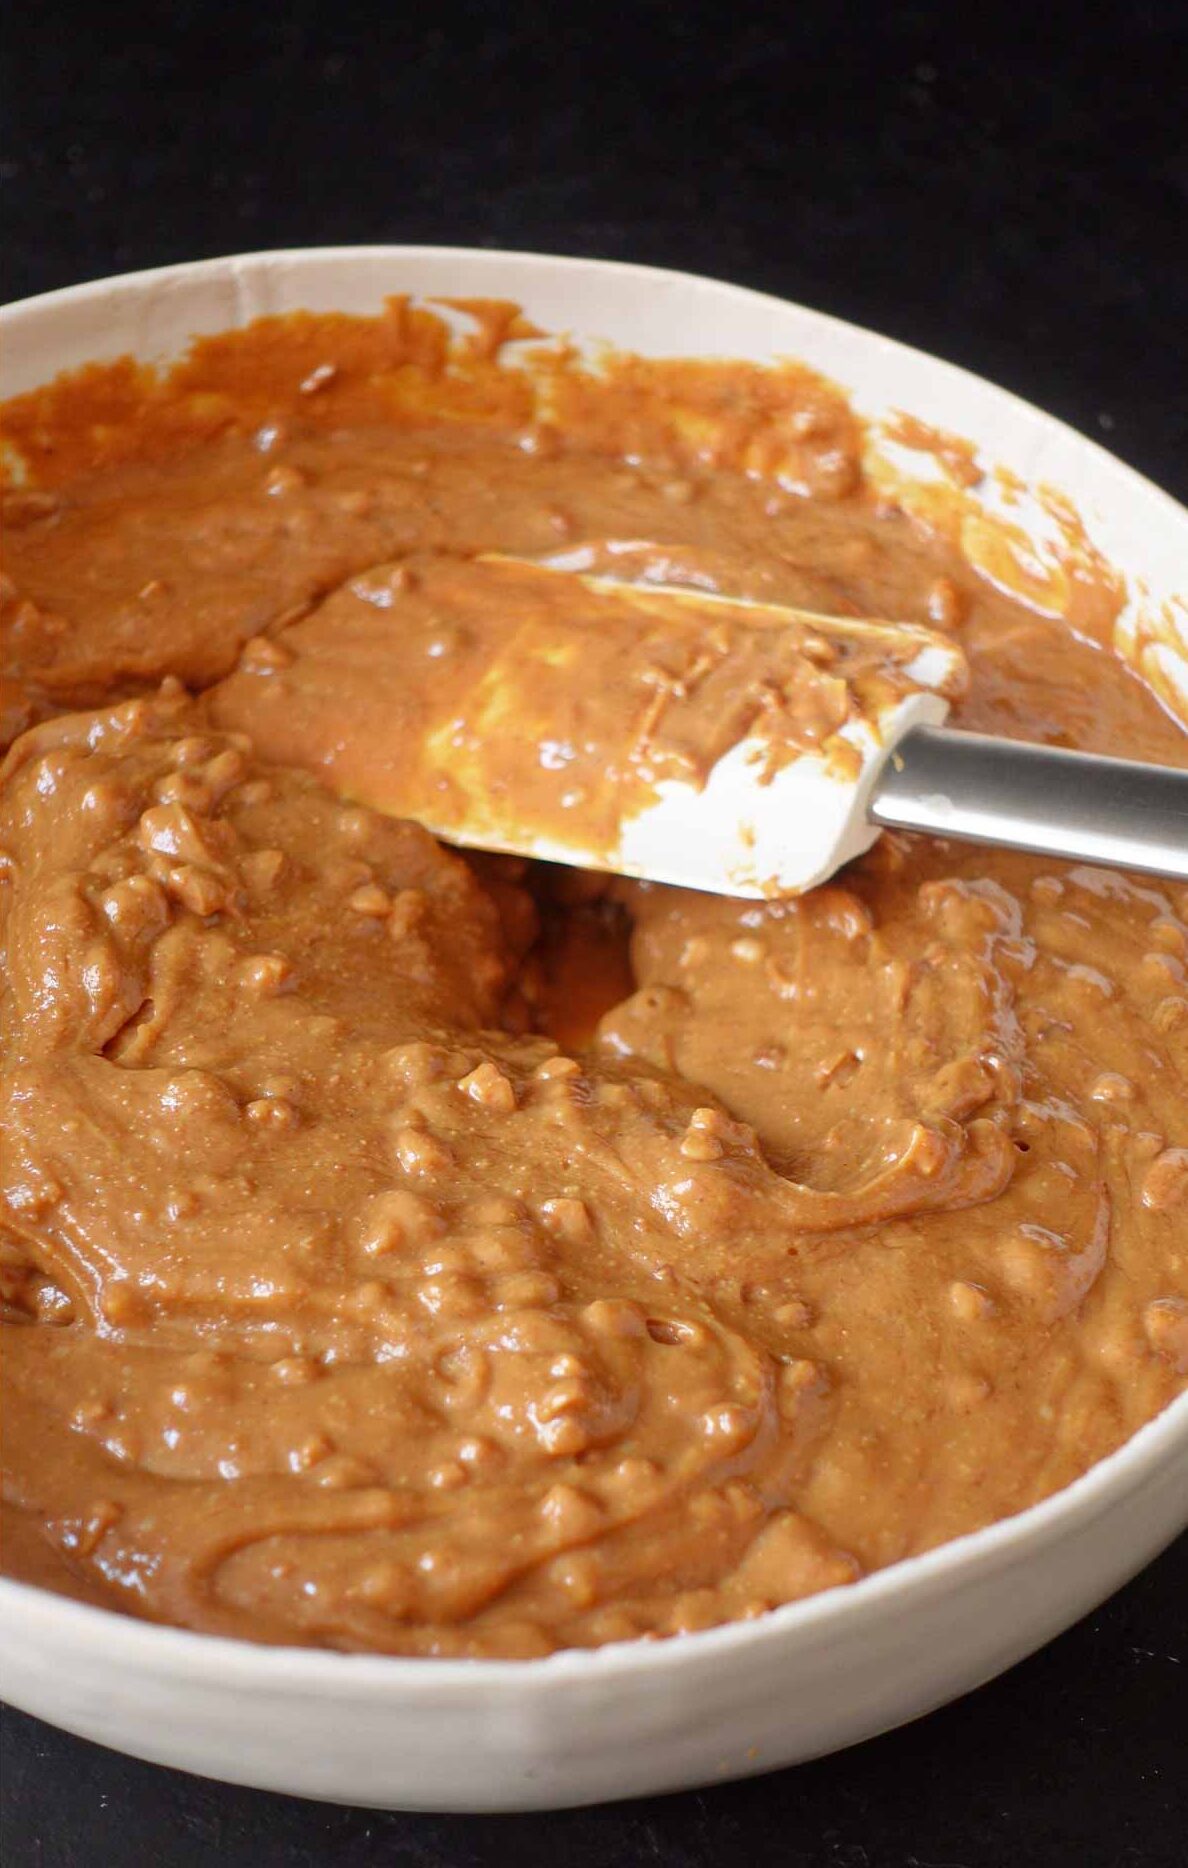
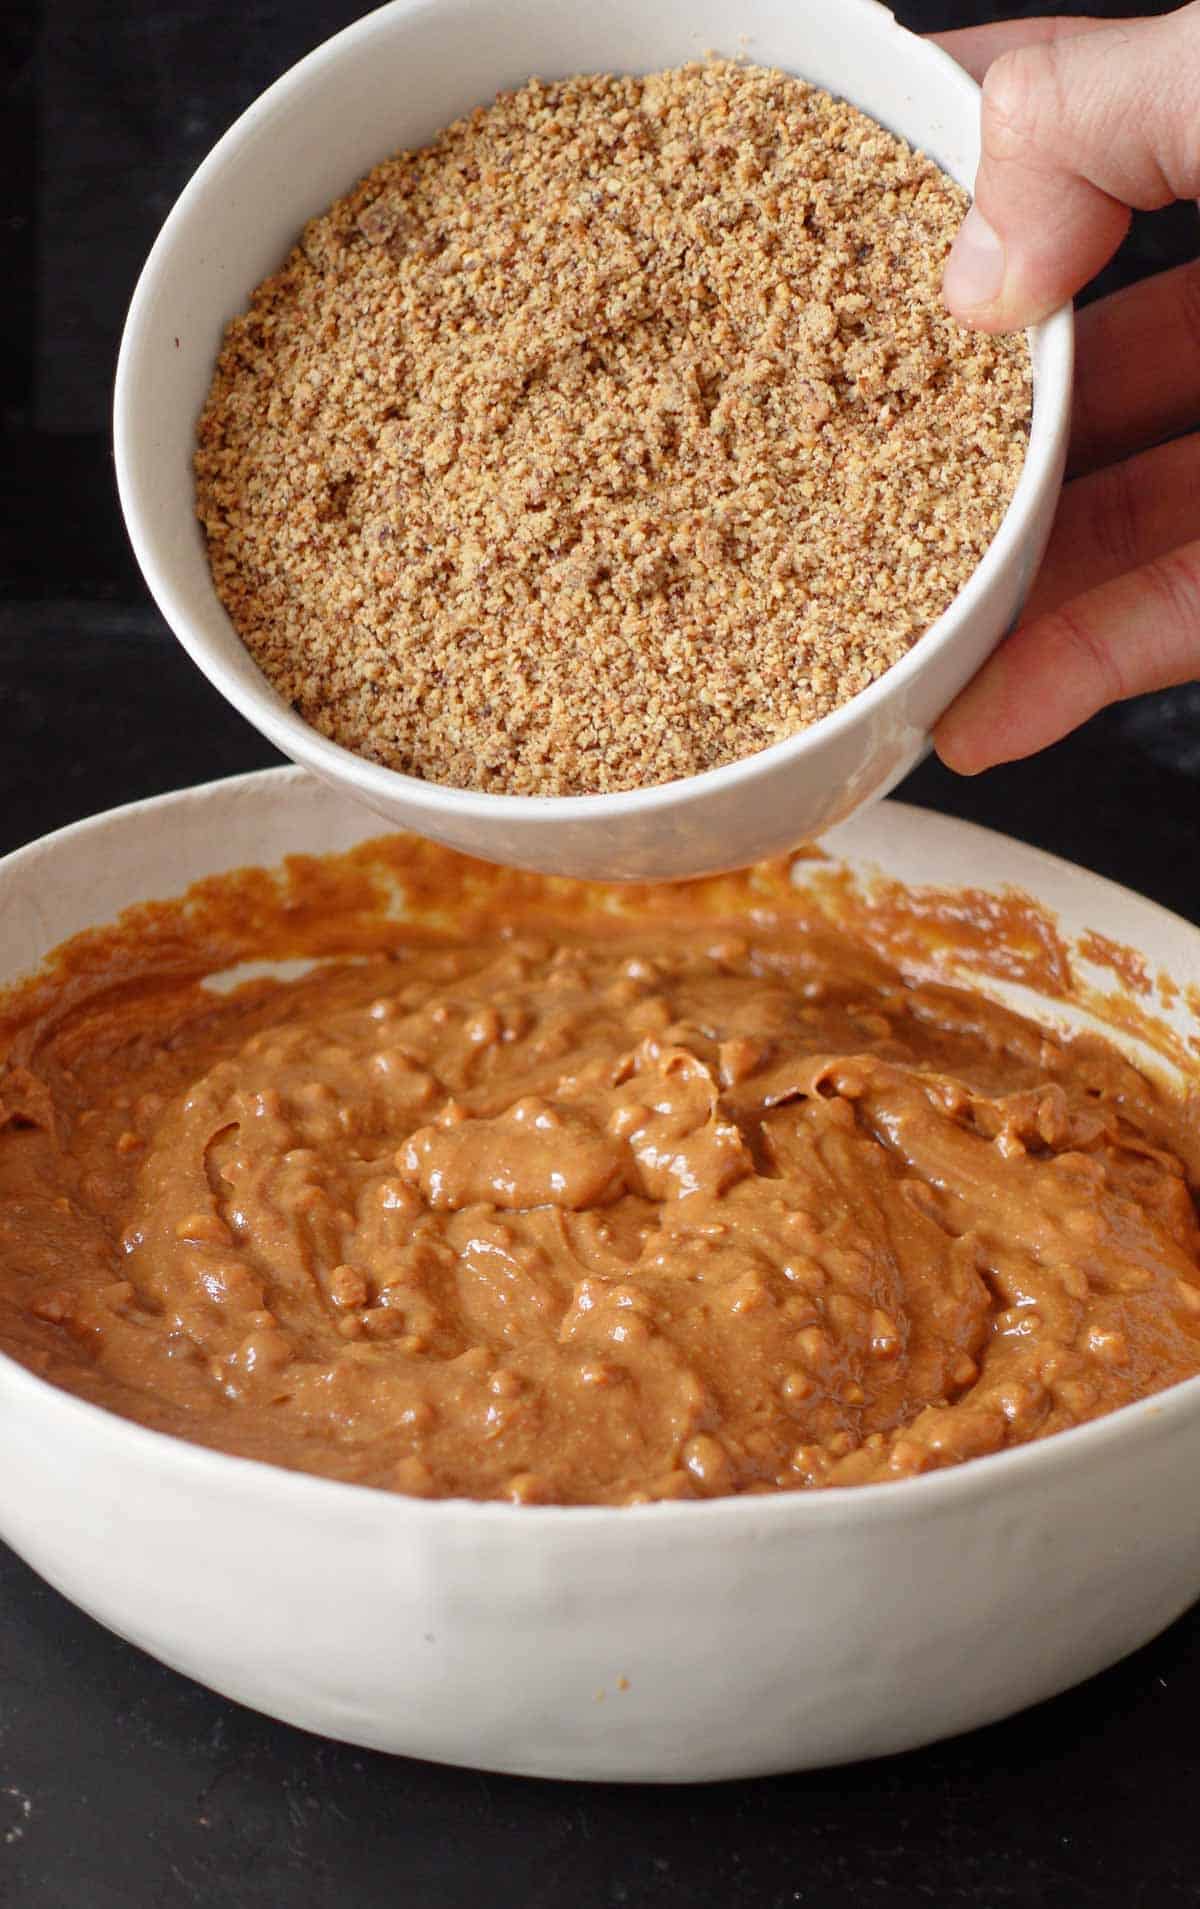
Step 1: Making the peanut butter mixture
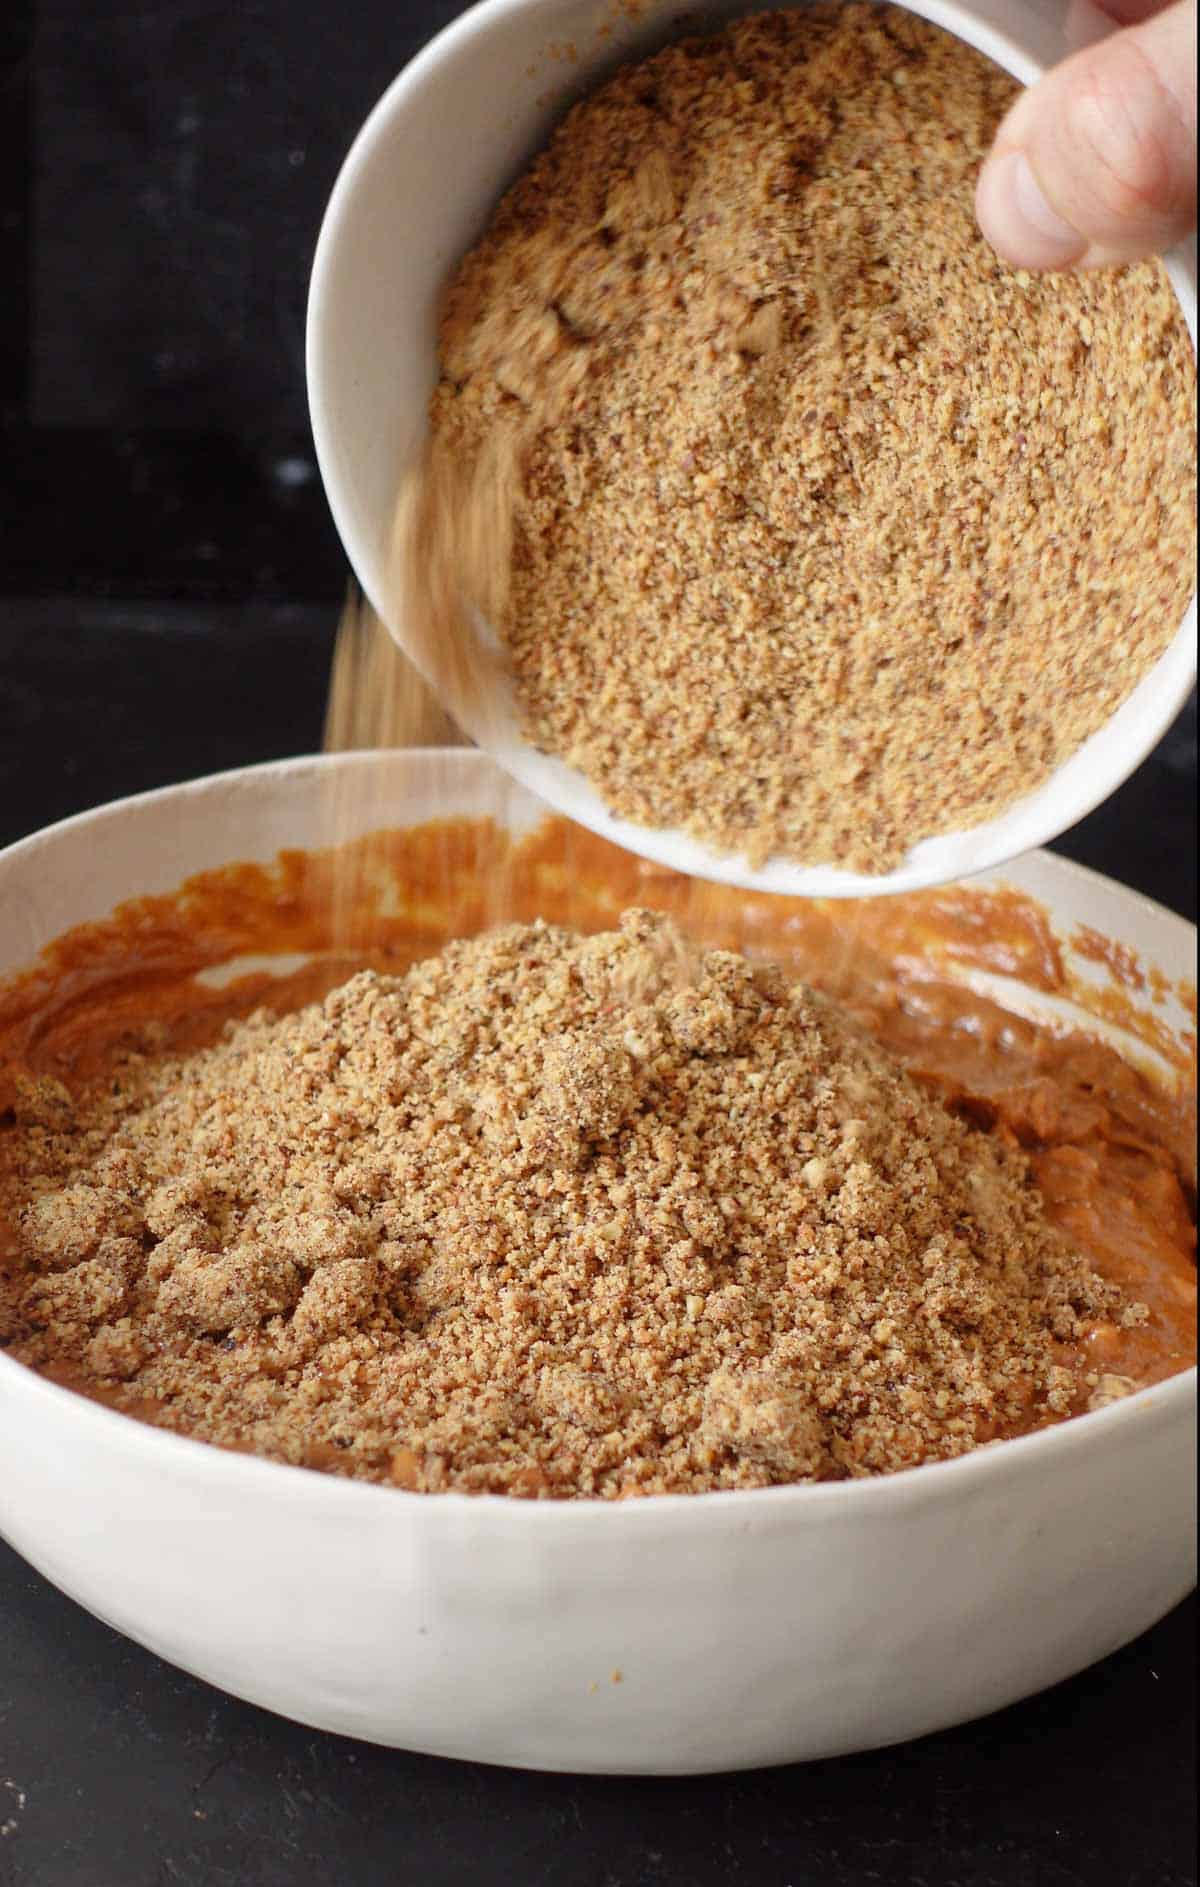
We start making the peanut butter bars by mixing the peanut butter, agave syrup or maple syrup (whichever you choose) and hazelnut flour in a large bowl.
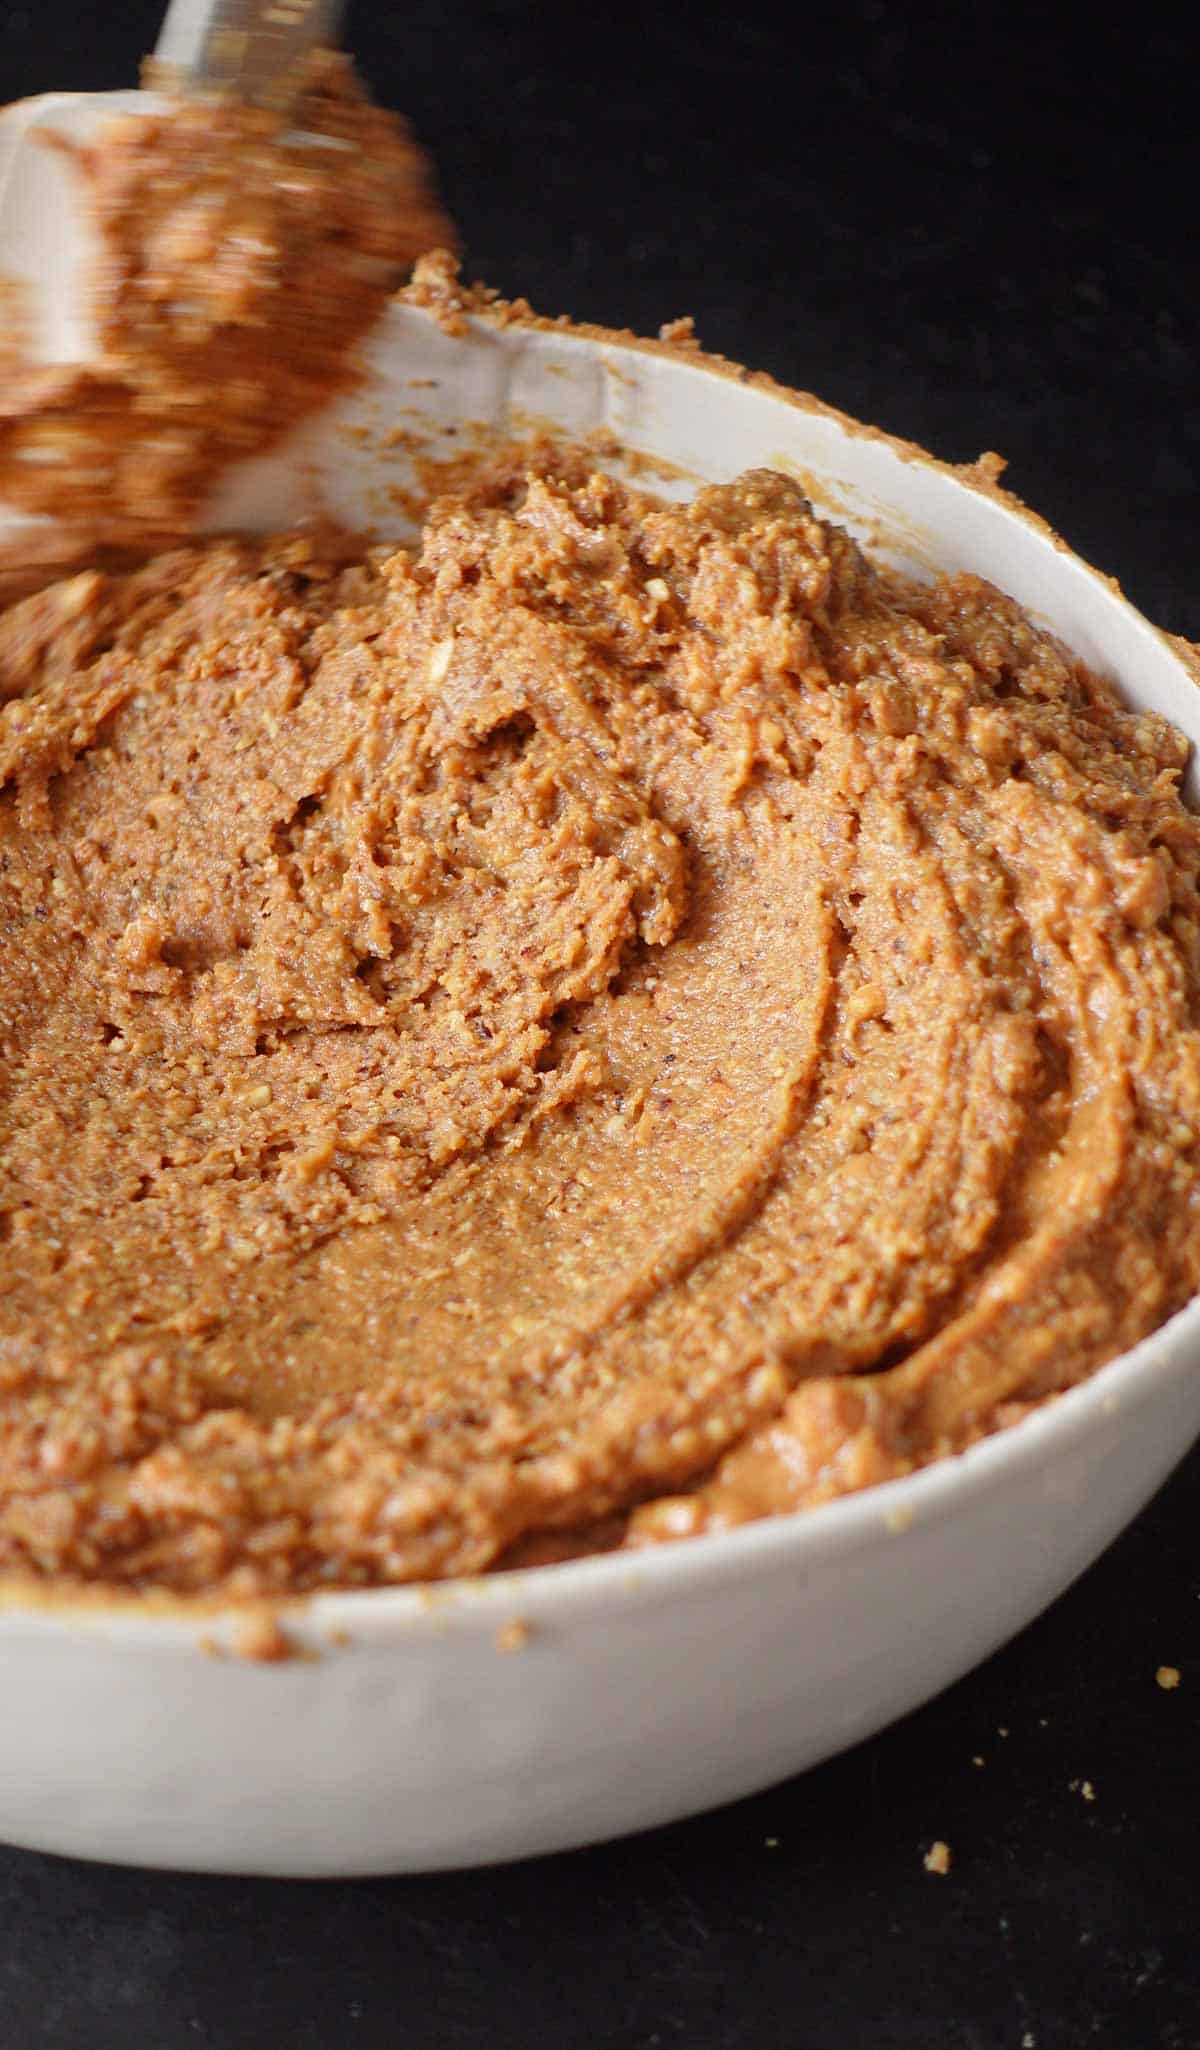
When everything is mixed, the consistency of the mixture should be slightly firm.
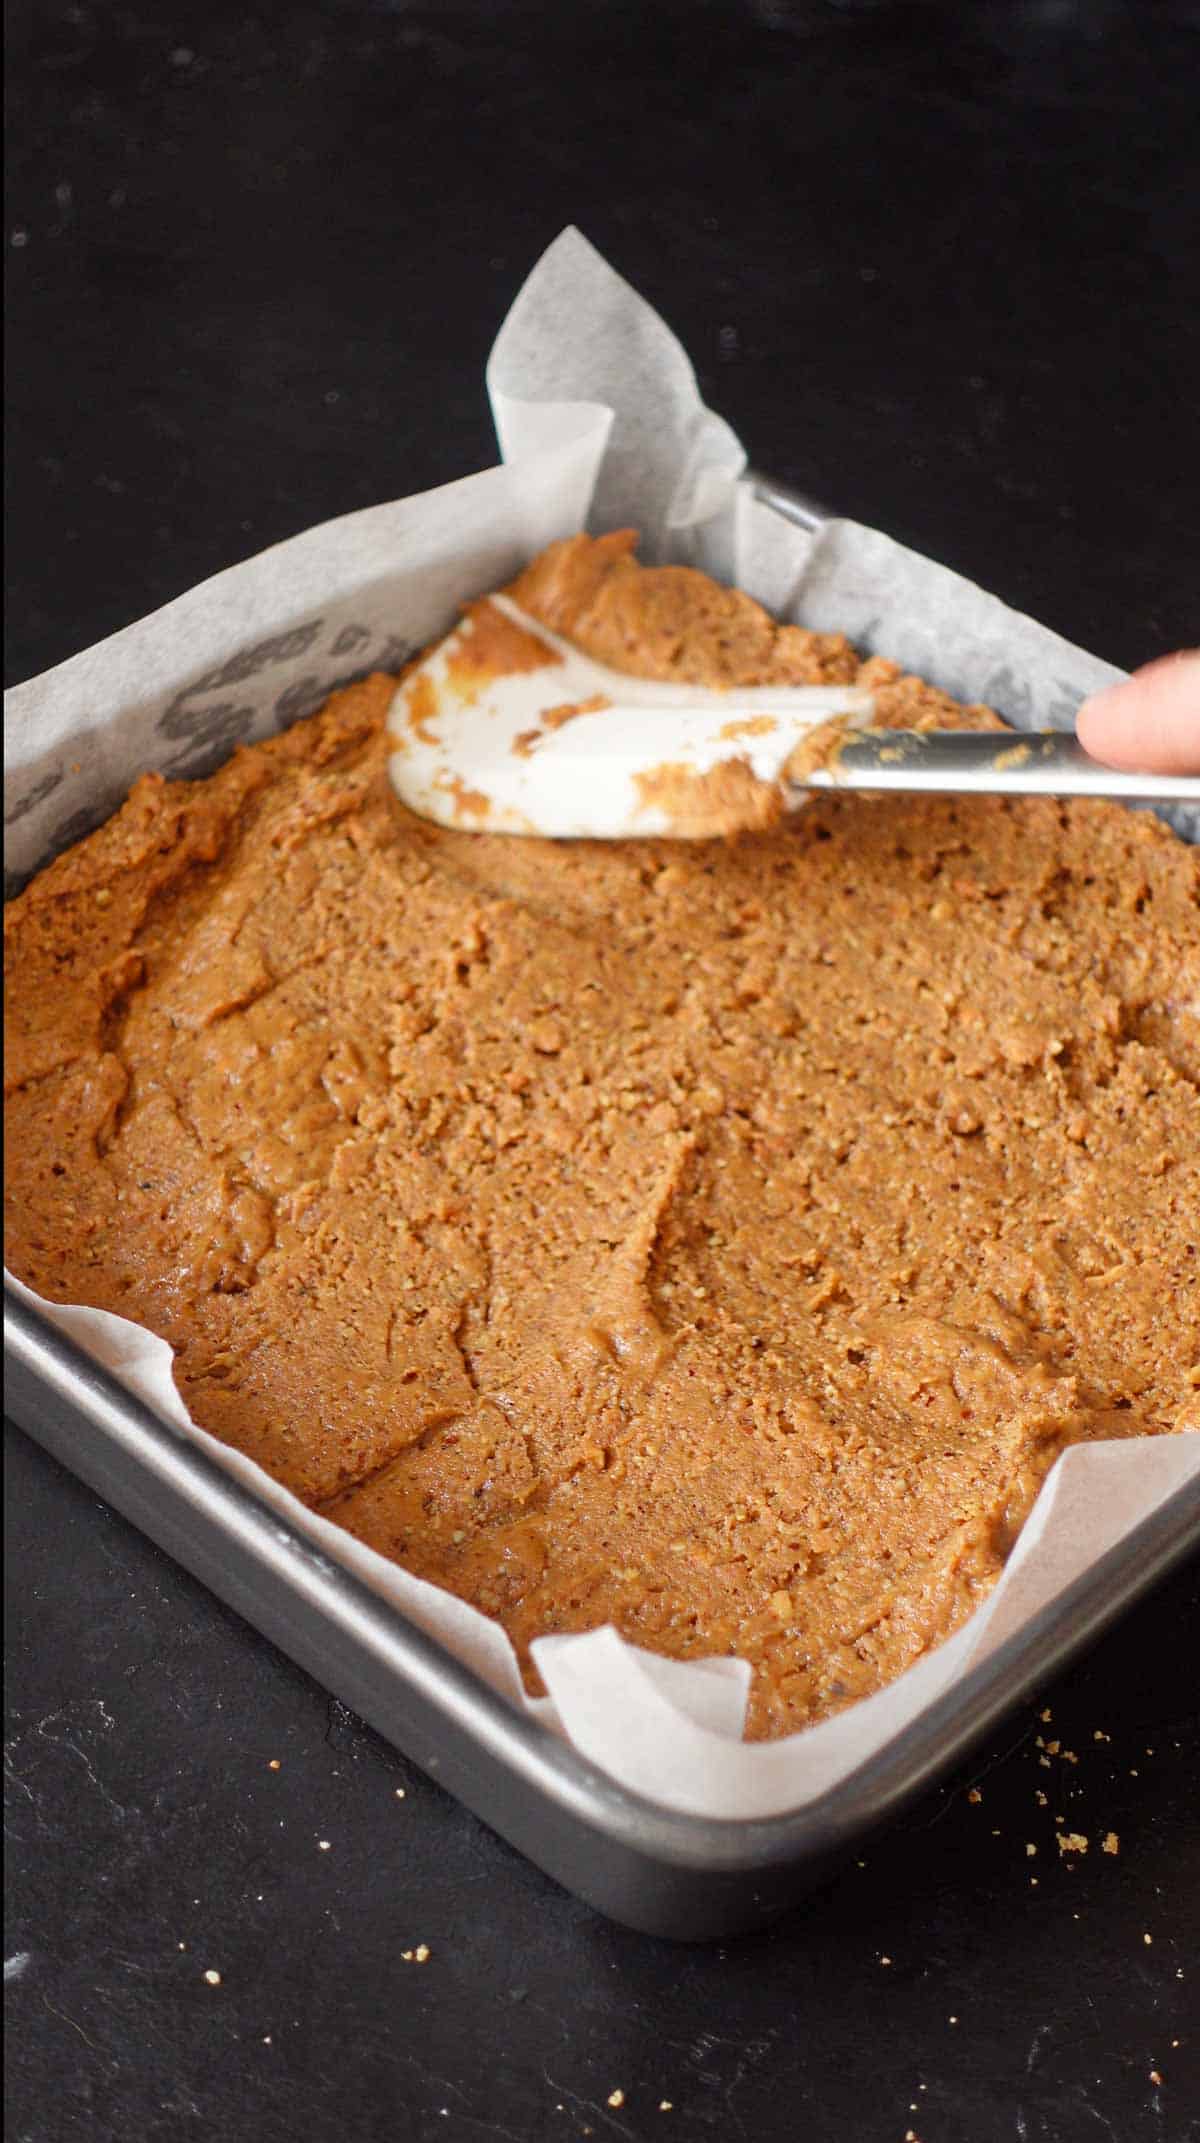
Step 2: Shaping the bar mixture
Once the mixture is ready, press it onto the bottom of a 20 x 20 cm (8 x 8 inch) brownie pan that you have previously lined with baking paper. If you don't have a brownie mold, you can use any other mold with a circumference of about 20 cm (8").
Once the mixture is evenly pressed, put it in the fridge or even better in the freezer.


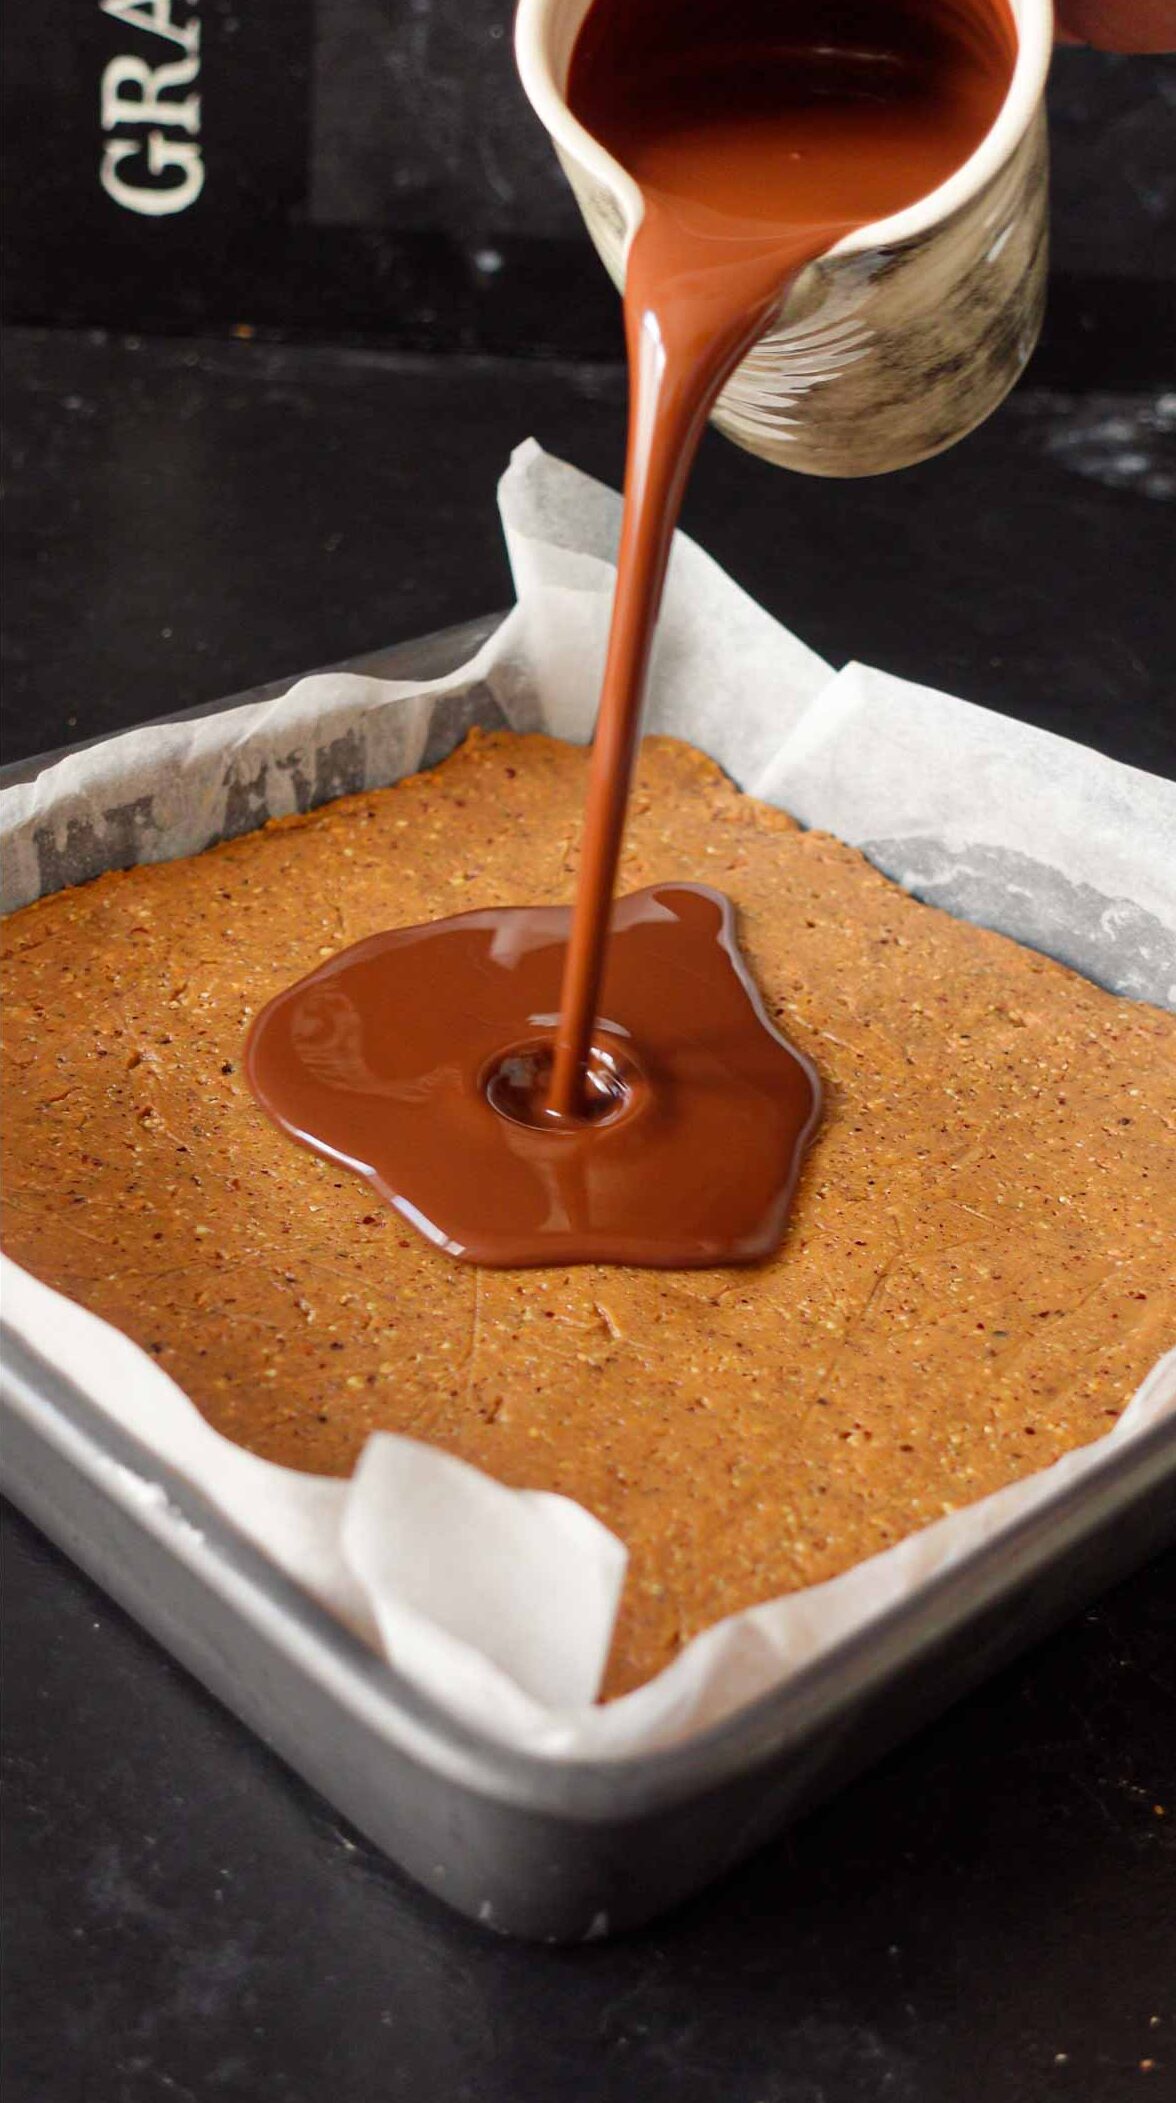
Step 3: Making the chocolate topping
While the mixture rests in the fridge or freezer, we can prepare the chocolate topping. To do this, we melt the chocolate and coconut oil in a water bath.

Once we have evenly spread the chocolate, we can place the mold in the refrigerator for 20 minutes until the chocolate has completely stabilized.
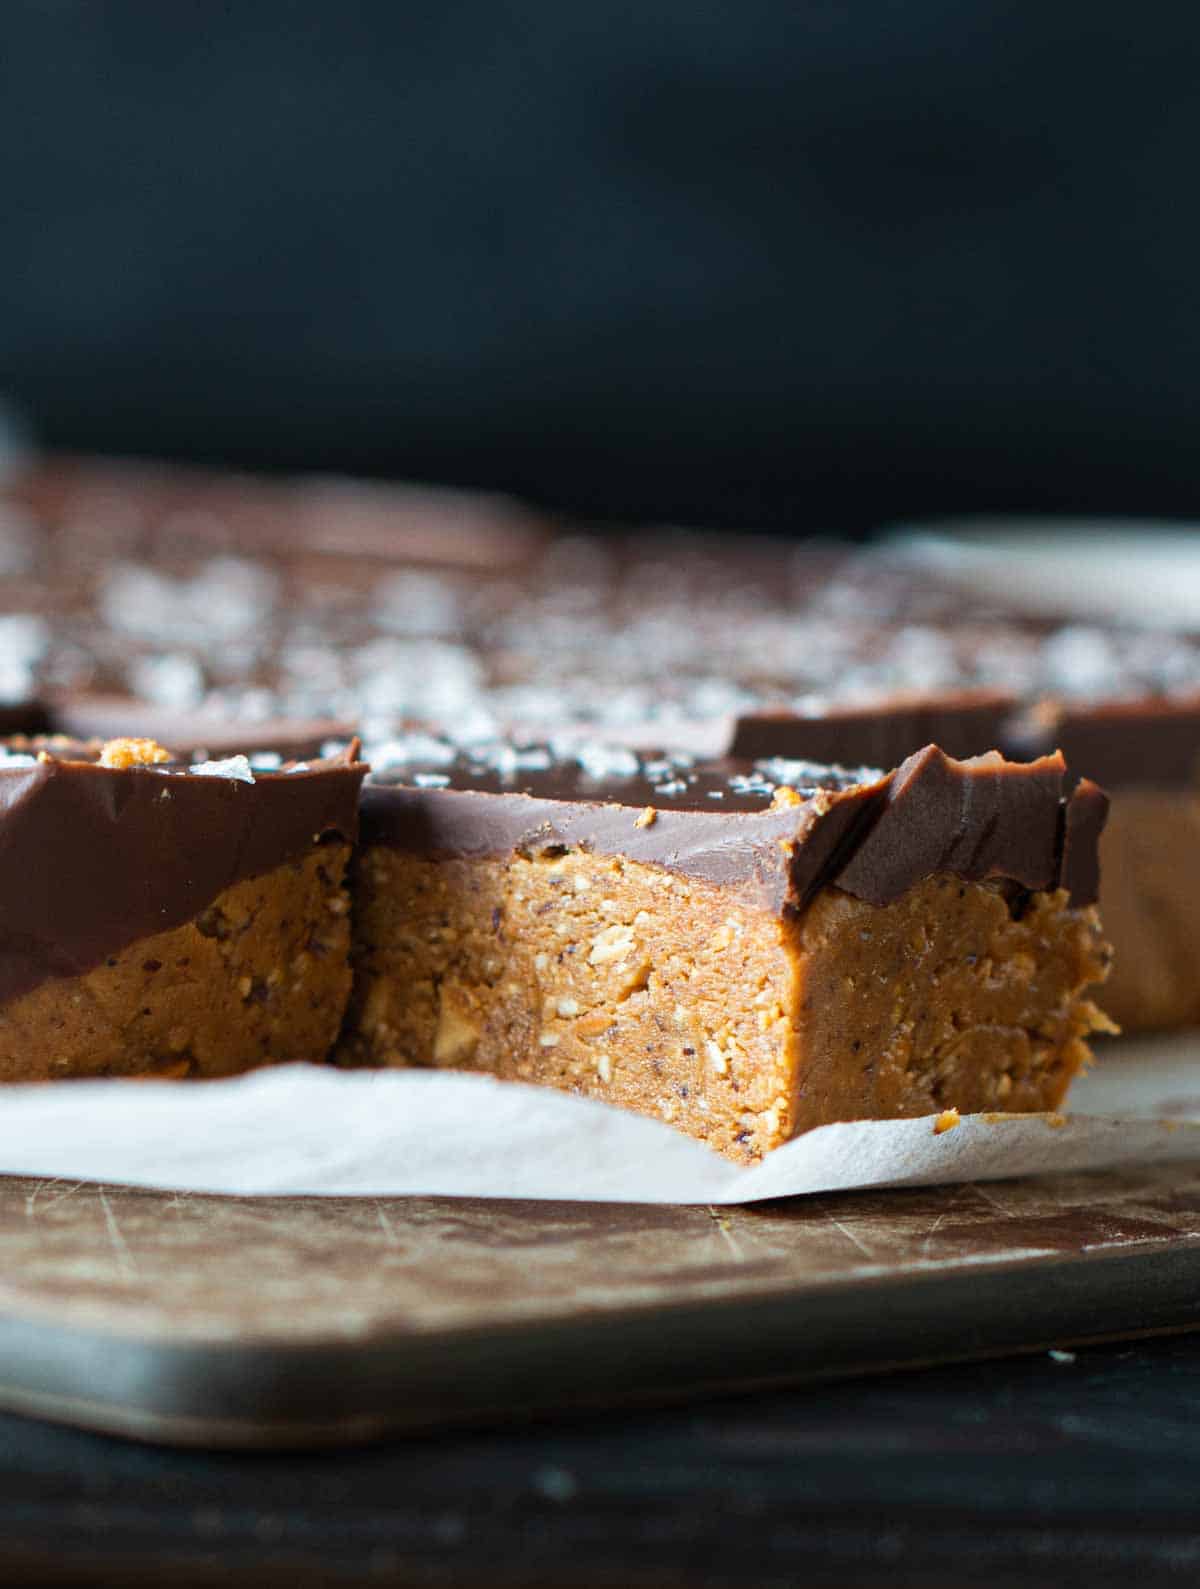
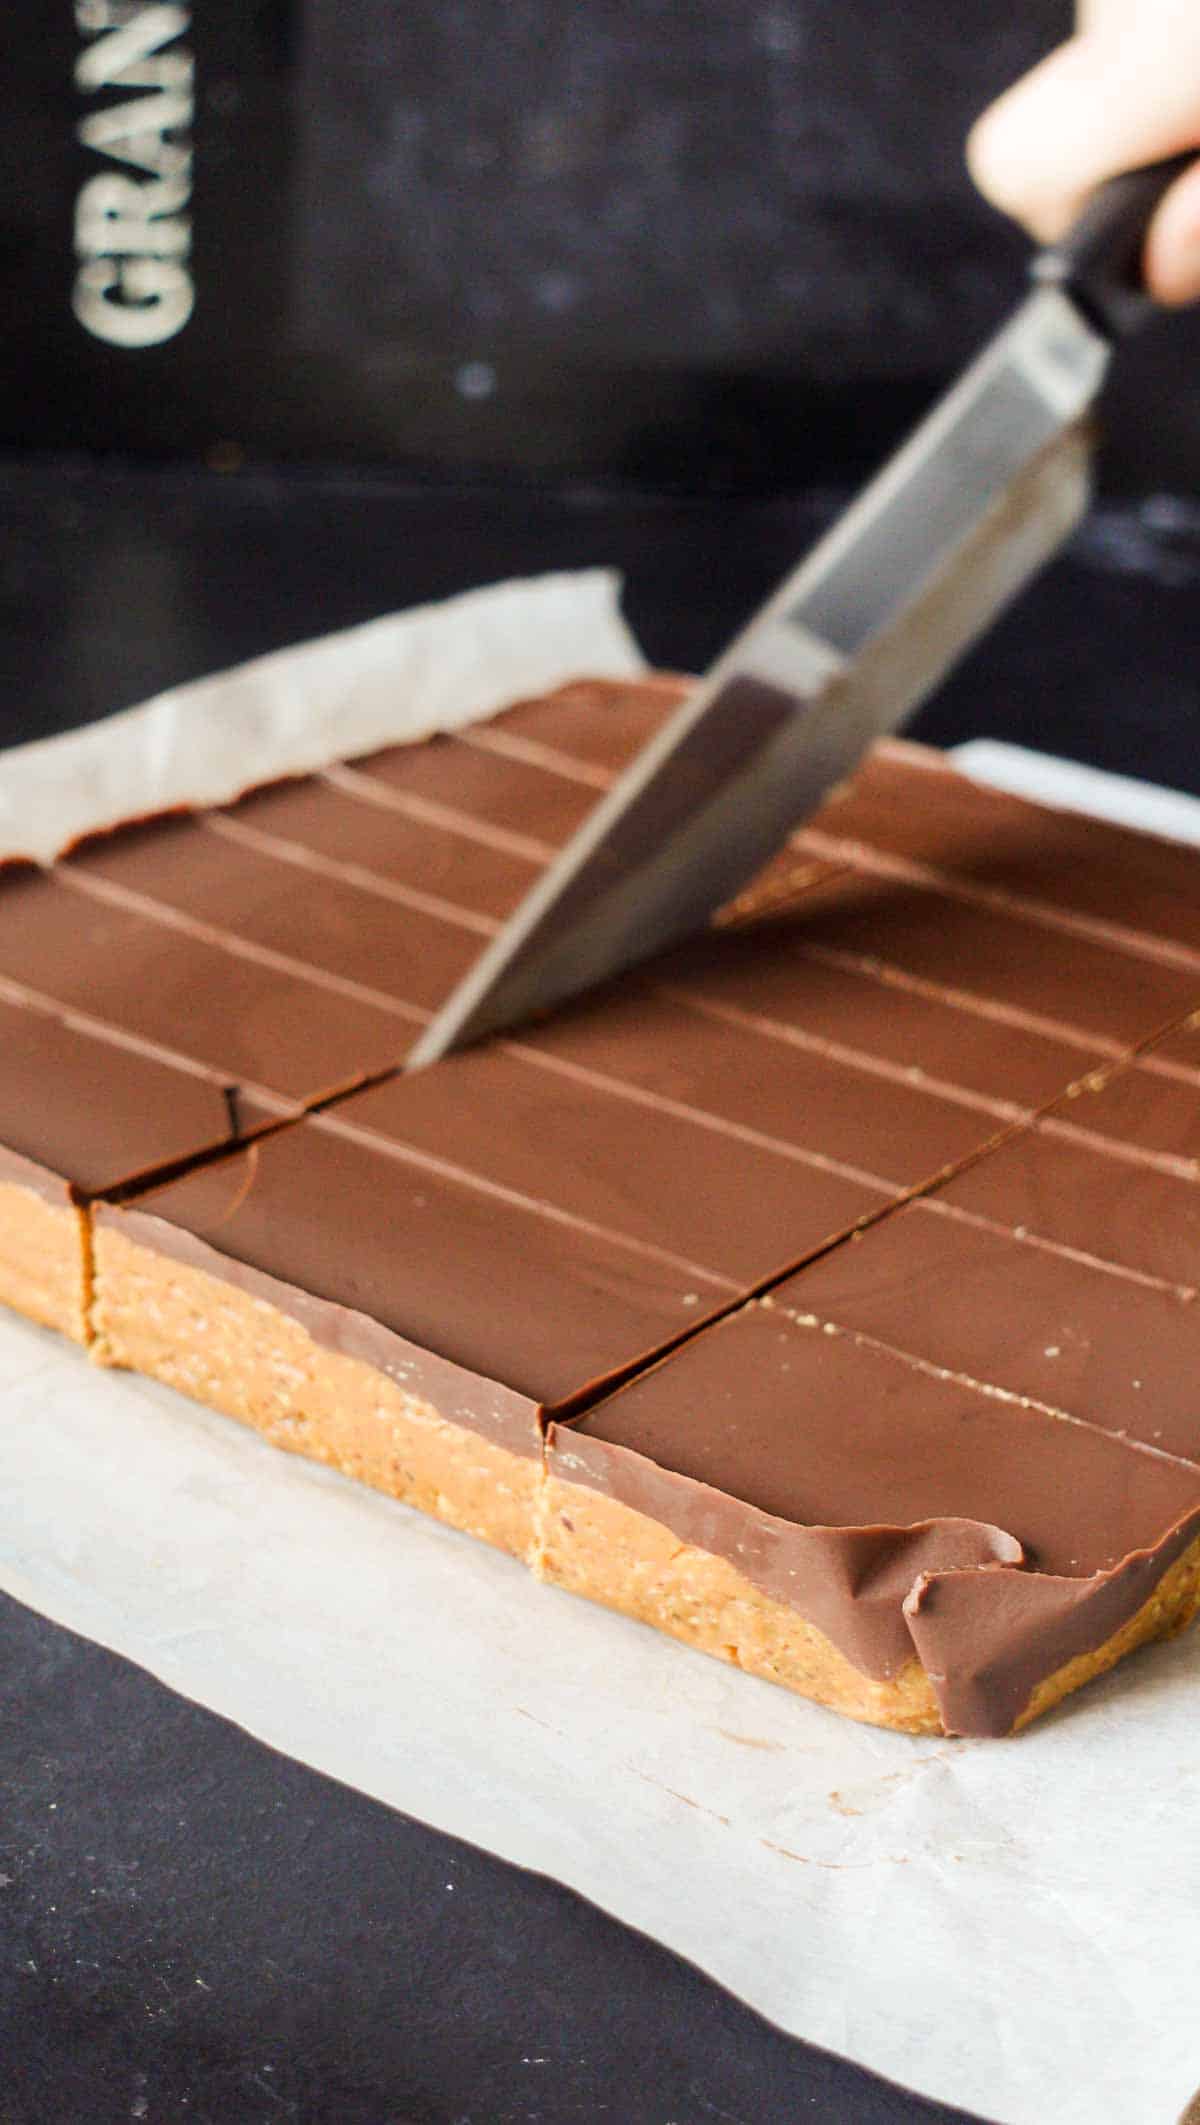
Step 4: Cutting the bars
Once the mixture has cooled completely, we can cut it into 18 bars and top them with a pinch of salt flakes.
How to store peanut butter bars
You can store the bars either in the refrigerator or in the freezer, depending on how long you want to keep them.
In the fridge: Put them in an airtight container and store them in the coldest part of the fridge. This way you can keep the bars for up to 2 weeks (maybe even longer).
In the freezer: Put the bars in an airtight container and freeze them. Let them thaw in the refrigerator for a few hours before serving. This way you can keep the bars for a few months.
more delicious desserts you may like
- Chocolate silken tofu pie with oreo crust
- Extra creamy biscoff cheesecake
- Vegan hazelnut babka
- Homemade vegan panettone
have you tried this recipe?
If you try this recipe, let me know! You can leave a comment, rate the recipe, and don’t forget to tag a photo #carlocao or #vegaliciously on Instagram!
If you have Pinterest, feel free to pin the following picture and to follow me by clicking here 😌
📖 Recipe
Vegan Peanut Butter Bars (Gluten Free, Low Carb)
Ingredients
- 700 g peanut butter ((24½ oz))
- 200 ml agave syrup or maple syrup ((6¾ oz))
- 200 g hazelnuts ground and roasted ((7 oz))
- 250 g dark chocolate ((9 oz))
- 4 tablespoon coconut oil
- 1 teaspoon salt flakes
Instructions
- Place peanut butter in a pan and heat until it becomes runny.
- Put peanut butter and agave syrup/maple syrup in a bowl and mix well.
- Add hazelnut flour and mix.
- Line the bottom and sides of a brownie pan 20x20 cm (8x8 inch) with baking paper.
- Press the peanut mixture onto the bottom of the mold, place in the refrigerator or freezer.
- For the chocolate topping, melt chocolate and oil in a water bath.
- Spread chocolate topping on top of peanut mixture.
- Place in refrigerator or freezer for 20 minutes.
- Once chocolate has stabilized, cut into 18 bars, top with salt flakes and serve.
Theresa says
Is there anything you can sub for coconut oil? I try to avoid it?
carlocao says
Hi there, you can skip the oil and just top it with melted chocolate. X Carlo